
Design Ideas for Leather Cutting
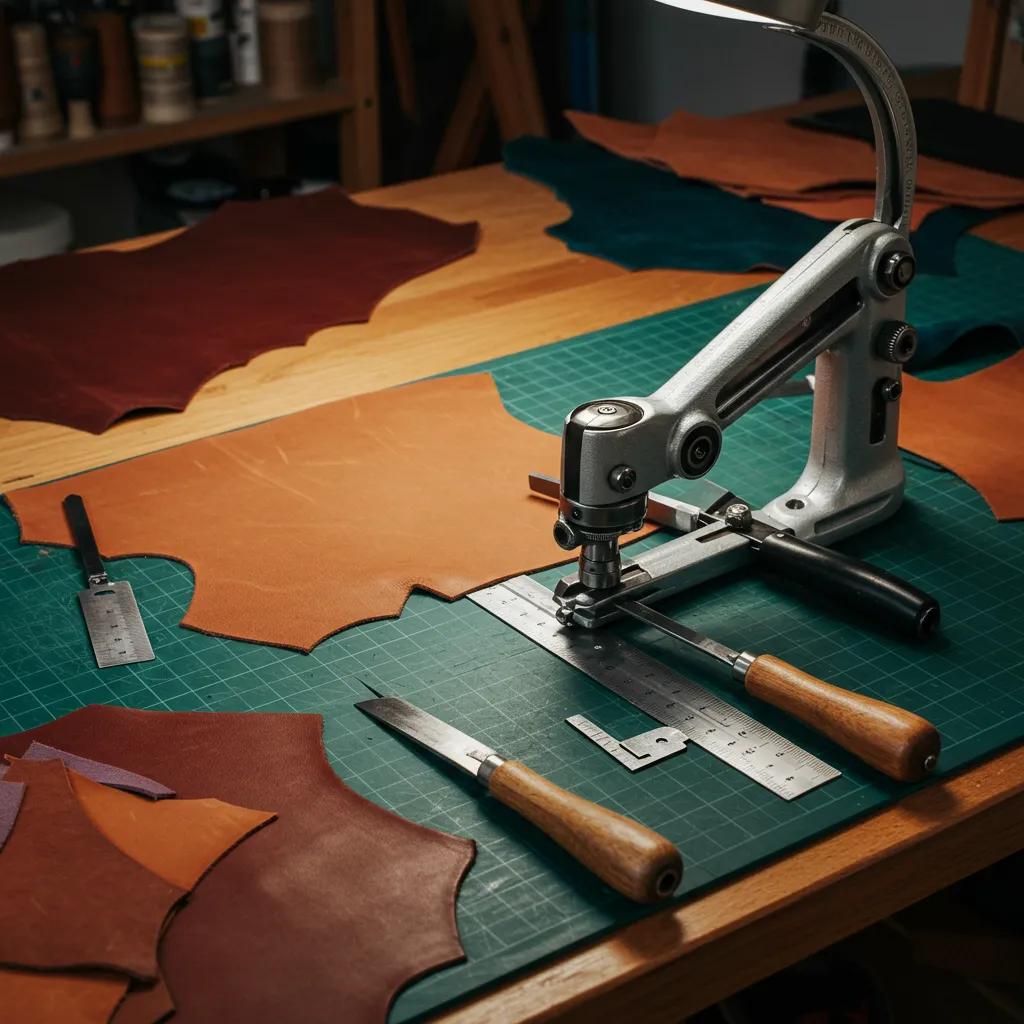
Leather Cutting Ideas: Custom Patterns, DIY Projects & Precision Techniques
Leather cutting design is the craft of shaping hides into functional and decorative parts—garments, bags, accessories and panels—that balance aesthetic intent with real-world material performance.
In this guide we show designers and makers how to choose pattern families, transfer and scale templates, and apply precision cutting techniques—from hand tools to laser systems—so your ideas become production-ready pieces.
Turning a one-off sketch into repeatable panels without sacrificing edge quality or structural strength is a common challenge. This article lays out pattern selection, material choices, cutting methods and finishing so you can move from concept to retail-grade product.
You’ll find practical DIY workflows, printable-template strategies, a clear laser vs. hand-cutting comparison, project inspiration, and tool-selection advice matched to skill level and scope.
The article answers six core questions: which pattern families to use and why; how to work with templates; the benefits of professional cutting; laser limits and advantages; inspiring project ideas and trends; and tool choice plus maintenance.
Throughout, we include search-friendly phrases—leather designs, leather cutting patterns, leather templates, precision leather cutting, and Pantone leather color matching—to link design choices with manufacturing outcomes.
What Are the Best Leather Cutting Patterns for Custom Designs?
The right leather cutting patterns combine decorative intent with structural needs so a piece performs and looks cohesive. Pattern families give you a repeatable language for placement, scale and reinforcement.
Floral, geometric, filigree and layered-panel patterns answer different design goals: floral and filigree work well for ornamentation on thin panels; geometric patterns suit modular goods and minimalist apparel; layered panels deliver structural stability for bags and jackets.
Pattern choice also dictates stitching locations and lining needs—panels, cut pieces and stitch components must align with the leather’s grain and thickness for best results.
Think in clear relationships: pattern family → determines → placement and reinforcement. That clarity makes digitizing templates and preparing for precision cutting much simpler.
The table below compares major pattern types by project fit and complexity so you can pick patterns that meet both aesthetic and manufacturing constraints.
| Pattern Family | Recommended Projects | Complexity | Recommended Leather Types |
|---|---|---|---|
| Floral | Jacket yokes, belts, decorative panels | Medium | Goat, sheep (thin, supple) |
| Geometric | Minimalist bags, modular panels | Low–Medium | Cow, buffalo (stable, thicker) |
| Filigree | Earrings, inlays, intricate panels | High | Goat, sheep (fine grain) |
| Layered panels | Structured bags, jacket panels | Medium–High | Cow, buffalo (supportive core) |
In short: floral and filigree shine on supple, thin leathers for decorative impact, while geometric and layered panels perform best on thicker hides for structural durability.
Knowing these trade-offs helps you choose the right cutting approach—hand or production—early in the design process.
Which Leather Cutting Patterns Work Best for Jackets, Bags, and Accessories?
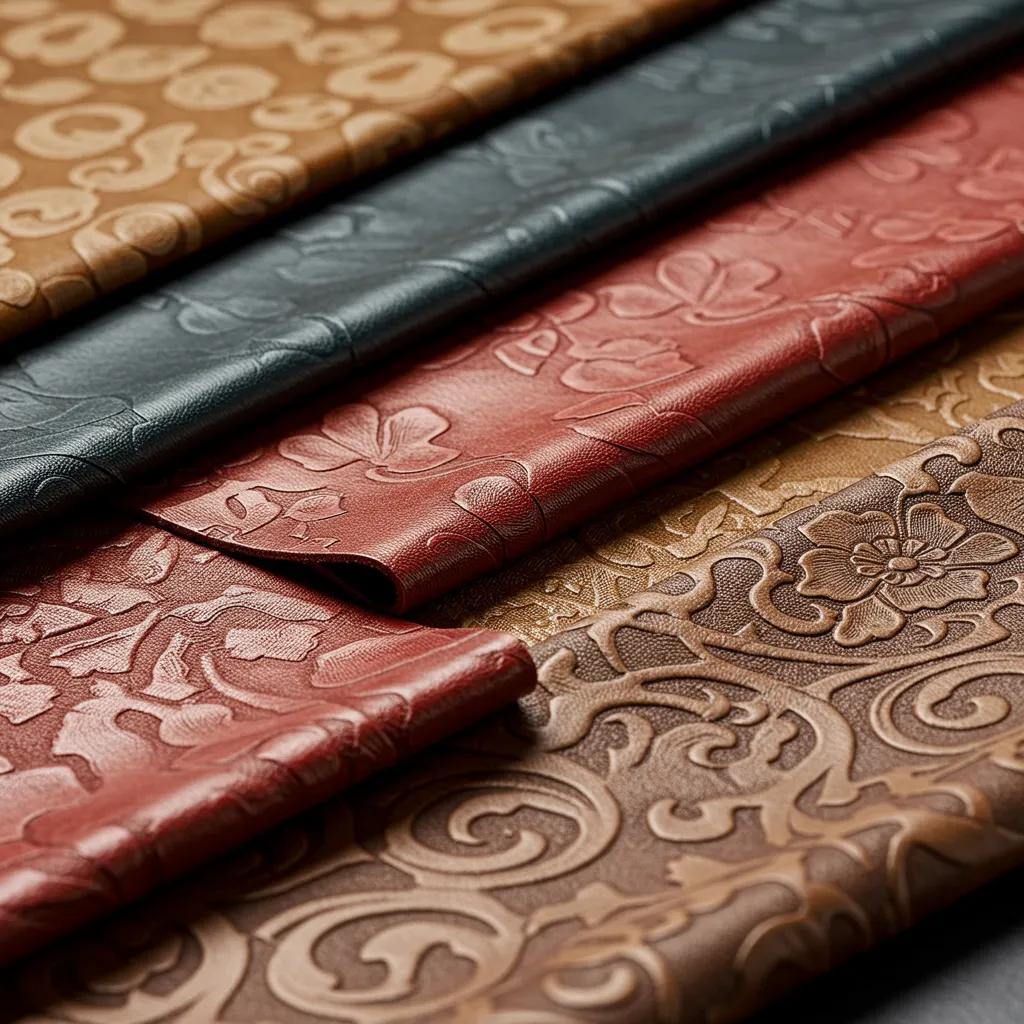
Matching pattern to product is about balancing looks with load and wear so the finished piece keeps its shape and performs over time.
Jackets benefit from yoke panels and layered construction: geometric panels give clean lines, while filigree should be used sparingly as an accent to avoid weakening seams.
Bags need planned gussets and reinforcement at stress points—layered panels and geometric modules create compartments and spread load across stitch lines.
Small accessories—wallets, card holders, belts—are ideal for finer filigree or floral motifs because their scale and backing can hide edge finishing more easily.
Match leather species to the pattern: cow and buffalo for structural panels; goat and sheep for detailed cutwork. That pairing reduces waste and improves edge finish.
How Do Floral, Geometric, and Filigree Designs Enhance Leather Products?
Motifs change perceived value and usability by altering visual density, texture and edge complexity, which then informs finishing choices and cost.
Floral motifs soften silhouettes and read as artisanal when paired with hand-stitched finishing. Geometric designs convey modern minimalism and scale predictably across lines.
Filigree creates high perceived value through intricate negative space but needs thin hides and backing for durability; filigree panels usually require burnishing and adhesive lamination to hold shape.
When you select motifs, account for kerf, stitch margin and lining placement so decoration enhances rather than weakens the product.
These technical points lead naturally into practical steps for turning DIY templates into accurate cut patterns.
How Can You Create DIY Leather Designs Using Templates and Patterns?
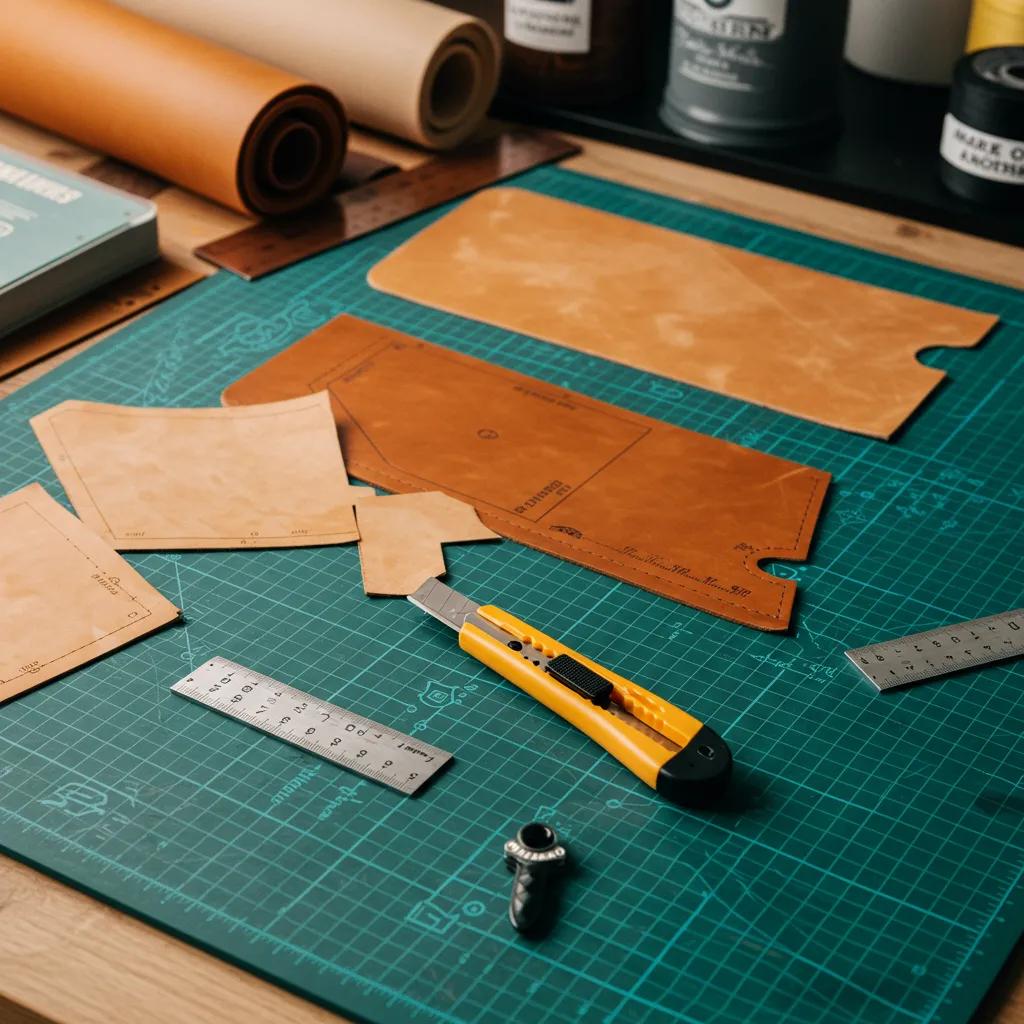
Using templates and patterns in DIY leather work converts sketches into repeatable parts by following clear transfer, cutting and finishing steps—an efficient approach for prototypes and small runs.
The method is straightforward: choose or create a vector template, print and scale it precisely, transfer the outline to leather with tracing or pouncing, then cut using the right tools while preserving stitch margins.
This workflow helps makers produce tangible prototypes before scaling up and reduces waste by optimizing layout (nesting) on the hide.
Below are step-by-step actions written for quick reference and practical use.
- Find or create a vector template and scale it to the final dimensions you need.
- Print the pattern on paper, mirror pieces if necessary, and verify stitch margins and seam allowances.
- Transfer the pattern to leather with tracing film, chalk or pounce, and secure the hide on a cutting mat.
- Cut along the lines with a sharp blade or use laser settings matched to the leather thickness.
- Finish edges with burnishing, adhesive backing or lining, then assemble with correct stitch spacing.
This simple sequence moves makers from flat pattern to finished piece while avoiding common errors like incorrect scale or insufficient seam allowance.
After mastering DIY, many makers move parts of the process to professional services when precision or volume outgrows hobby capabilities.
Within a DIY workflow some creators outsource stages when precision or volume exceeds what they can do at home; Pakistan Leather provides manufacturing and export services to bridge that gap.
As a manufacturer and exporter of high-end fashion leather garments and goods, Pakistan Leather specializes in custom, hand-stitched products and can take your template through consultation, pattern digitization, cutting, stitching, finishing and export.
We work with multiple leather types—sheep, goat, cow, buffalo—and offer Pantone color matching to keep color consistent across runs when a DIY prototype needs scaling for wholesale or retail.
Where Can You Find Free and Printable Leather Cutting Templates?
Good template sources balance discoverability, clear licensing and flexible file formats so makers can use them for hobby or commercial projects.
Reputable repositories provide vector files (SVG, DXF) for scalability and compatibility with both hand and laser workflows; maker communities and CAD libraries often host ready-to-use templates.
When choosing templates, check license terms for commercial use, confirm file precision (vector vs raster), and verify whether seam allowance is included or needs adding.
Always test scale with a paper prototype to ensure dimensions translate to leather before cutting.
Reliable templates plus careful scaling reduce costly mistakes and make the jump to precision cutting much smoother.
What Tools and Materials Are Needed for DIY Leather Cutting Projects?
A compact starter kit should include a cutting mat, a sharp utility or craft knife, a swivel knife for curves, hole punches, an edge beveler, glue and burnishing tools—enough to complete most common projects.
Recommended starter leathers are vegetable‑tanned cow or goat for general work, thin sheep leather for fine filigree, and 1.0–2.0 mm thickness for accessories; thicker hides suit structured bags and belts.
Proper lighting, a non‑slip surface and blade guards improve safety and produce cleaner cuts.
Regular maintenance—blade replacement, edge conditioning and storing hides flat—extends tool life and improves results.
What Are the Advantages of Custom Leather Cutting Services?
Custom leather cutting services deliver repeatable quality, faster timelines and access to specialized cutting and finishing processes that are hard to replicate at home.
Professional providers handle precise pattern digitization, controlled kerf compensation, consistent edge quality and the ability to scale from prototype to wholesale while keeping tight tolerances.
They also bring material sourcing expertise, helping you match pattern demands with the right leather species and thickness for longevity and finish.
Below is a concise list of the main commercial reasons designers and brands outsource cutting.
- Quality Control: Professional setups ensure consistent cuts and matched stitch margins across units.
- Scalability: Nesting and production techniques lower per-unit cost as volume grows.
- Material & Color Expertise: Suppliers can source multiple leather types and offer Pantone color matching for run-to-run consistency.
- Advanced Finishing: Access to die-cutting, laser cutting and precision hand finishing improves edge integrity and final appearance.
These benefits explain why brands move from DIY prototyping to outsourcing; designers who need consistency and export readiness typically partner with manufacturers who manage the end-to-end process.
How Does Pakistan Leather Transform Your Design Ideas into Finished Products?
At Pakistan Leather we turn concepts into export-ready products through a step-by-step process that combines consultation, digitization, prototyping, production, finishing and quality control.
We begin with client consultation and pattern digitization—converting sketches or templates into cut files and nesting them for efficient material use—then produce prototypes for fit and finish approval.
Production uses the appropriate cutting method—manual die, laser or precision die cutting—followed by hand-stitched finishing, edge treatment and inspection before packaging and export.
Pakistan Leather acts as both an e-commerce and information hub and a manufacturer/exporter of high-end leather garments and goods, offering customization across sheep, goat, cow and buffalo leathers plus Pantone color matching to support wholesale and export orders.
Which Leather Types and Colors Are Best for Precision Cutting?
Choosing the right leather species and thickness balances cut detail with structural needs. Goat and sheep leathers work best for intricate filigree and fine contours; cow and buffalo hides suit structural panels and heavy-use items.
Grain and thickness affect kerf, edge finish and stitch penetration: thin leathers (under 1.2 mm) allow sharp filigree but often need backing or adhesive lamination; thicker hides give clean edges for bags and belts but limit tiny details.
For color consistency across production runs, Pantone leather color matching reduces variance and simplifies multi-item assortments.
Always link material selection back to pattern family and cutting method to avoid compromises in durability or appearance.
How Does Laser Cutting Technology Improve Leather Craft Ideas?
Laser cutting uses a focused beam to vaporize material along vector paths, producing high‑precision edges and enabling complex negative‑space designs that are slow or impossible by hand.
Lasers deliver repeatable accuracy, minimal mechanical stress on the hide and fast throughput for detailed patterns like filigree or small accessories.
There are trade-offs: laser edges often need sealing, some discoloration or smoke residue can occur, and not every leather finish tolerates heat equally—plan for post‑processing.
Plan with clear relationships: laser cut → produces → fine, repeatable detail. That explains why lasers are chosen for high-complexity designs.
The table below compares laser, die and hand cutting across key attributes to guide method selection.
| Cutting Method | Precision | Edge Finish | Speed/Throughput |
|---|---|---|---|
| Laser Cutting | Very High | Smooth but may require sealing | Fast for detailed repeats |
| Die Cutting | High (for repeated shapes) | Clean, consistent | Very fast at scale |
| Hand Cutting | Variable | Depends on skill; may need buffing | Slow, best for prototypes |
In practice: lasers excel at complexity and prototyping, die cutting is best for repeated parts at scale, and hand cutting remains appropriate for bespoke, low‑volume work.
With those differences in mind, weigh benefits against trade-offs for each project.
What Are the Benefits of Laser Cut Leather Patterns Compared to Hand Cutting?
Laser cutting gives unmatched repeatability and the ability to produce complex motifs at scale while keeping tight tolerances for inlays, appliqués and filigree panels.
Hand cutting offers artisanal variability that can be desirable for bespoke pieces but is slower and less consistent for batches; lasers remove operator variability and lower per‑piece variance.
The trade-offs include possible thermal discoloration and additional post‑cut edge sealing or backing for thin leathers, which adds process steps.
When planning production, choose between laser and hand cutting based on intended volume, edge aesthetic and leather finish compatibility.
In our facilities, Pakistan Leather combines advanced laser and die cutting with hand-stitched finishing to deliver precision and export-grade quality.
Our approach pairs modern cutting technology with skilled hand assembly, supporting small bespoke runs and larger export orders while keeping quality consistent.
Which Leather Projects Are Ideal for Laser Cutting Techniques?
Laser cutting suits delicate filigree panels, small accessories like earrings and labels, intricate inlays and precision appliqués—projects where repeatability and fine negative space matter most.
Design tips: account for kerf by offsetting vector paths, respect minimum detail sizes to avoid collapse, and specify backing or laminates for thin leathers that will bear stress.
Post‑cut finishing—edge sanding, dye touch‑up and adhesive backing—improves durability and appearance.
These projects make the most of laser strengths while planning for the necessary downstream finishing steps.
What Are Popular Leather Craft Ideas to Inspire Your Next Project?
Popular projects range from small accessories—earrings, wallets, card holders—to apparel accents like jacket yokes and full garments, and to structured goods such as saddlery-inspired bags and modular organizers.
Each idea benefits from a pattern aligned with material and cutting method: filigree for small decorative items, geometric modules for scalable bags, and layered panels for durable apparel.
Trend-aware designers combine sustainability cues, minimalist geometry and tech-enabled personalization—like laser engraving for serial numbers or bespoke motifs.
Below are a few project concepts with simple scaling advice.
- Small Accessories: Earrings and key tags that scale from DIY to batch laser production.
- Apparel Accents: Jacket yokes and cuffs using layered panels for durability.
- Structured Goods: Modular bags with geometric panels designed for die-cut production.
These ideas show how cutting choices shape both design and function, and they lead naturally into techniques for integrating personalized artwork into cut files.
How to Incorporate Unique Motifs and Personalized Artwork in Leather Cutting?
To make artwork cut-ready, convert raster images to clean vector paths, simplify nodes to meet minimum detail sizes, and add kerf compensation in the vector file so pieces align after cutting.
Placement tips: test motif scale against stitch lines and stress points, and place monograms in reinforced zones to avoid premature wear.
Combining tooling, embossing, laser engraving and cutting creates layered effects that raise perceived value.
Follow a clear sequence: artwork → vectorization → kerf compensation. That approach reduces iterations and speeds both prototype and production phases.
What Are Trending Leather Goods Designs for 2025 and Beyond?
Key trends emphasize sustainable sourcing, minimalist silhouettes, a filigree revival for heritage accents, and modular or convertible designs that extend product life and utility.
Designers increasingly pair leather with recycled textiles or metal hardware to meet demand for durability and ethical sourcing.
Personalization—laser engraving and Pantone-matched color runs—lets brands offer cohesive assortments across collections.
These trends favor aesthetic restraint combined with production efficiency, preparing designers for wholesale and export opportunities.
How Do You Choose the Right Tools for Intricate Leather Cutting?
Tool choice depends on project scale, desired edge finish and skill level—each option trades off control, speed and maintenance in ways that affect final quality.
For fine filigree and delicate inlays, use swivel knives and careful laser settings; for heavy hides and high-volume repeats, die cutting or industrial rotary cutters reduce labor and boost throughput.
Tool selection also defines maintenance routines—blade sharpening or laser calibration—that influence long-term precision.
The table below compares essential tools by skill level, maintenance needs and best-use cases to guide purchases and workflow decisions.
| Tool | Skill Level | Maintenance | Best Use Case |
|---|---|---|---|
| Swivel Knife | Intermediate | Blade sharpening | Curved cuts, filigree |
| Rotary Cutter | Beginner–Intermediate | Blade replacement | Straight cuts, speed |
| Laser Cutter | Advanced/Pro | Calibration, lens cleaning | Complex repeats, filigree |
This comparison clarifies which tools suit hobbyists versus production environments and helps plan maintenance for consistent results.
What Are Essential Leather Cutting Tools for Beginners and Experts?
A beginner kit should include a utility knife with spare blades, a cutting mat, a straightedge, punches and basic edge finishers to make clean prototypes safely and affordably.
Expert upgrades add swivel knives, stitching clamps, adjustable clicks, rotary cutters and access to laser or die cutting services for higher volumes.
Safety gear—cut-resistant gloves and eye protection—and ergonomic workspace setup belong on both beginner and expert shopping lists to reduce accidents and improve precision.
Picking the right tool mix reduces waste and supports a clear path from hobby projects to commercial-quality production.
How to Maintain and Use Tools for Precision Leather Cutting?
Regular maintenance—sharpening or replacing blades, cleaning rotary blades and calibrating laser optics—keeps cuts consistent, extends tool life and prevents material waste from imprecise edges.
For hand tools, follow a sharpening schedule and maintain the correct cutting angle; for lasers, perform alignment checks and lens cleaning to preserve kerf accuracy.
Common troubleshooting—dull blades causing ragged cuts or laser soot causing edge discoloration—is part of disciplined workshop practice and reduces downtime.
Consistent maintenance links tool care to better outcomes and smoother scaling into production or export runs.
For designers or brands ready to scale beyond prototypes, Pakistan Leather’s manufacturing and export capabilities include precision cutting, hand-stitched finishing and Pantone color matching across sheep, goat, cow and buffalo leathers to support wholesale and international orders.
Designers can use Pakistan Leather as an e-commerce and information hub to request quotes for bespoke runs, rely on our manufacturing expertise for material selection and color consistency, and move prototypes into export-ready goods with end-to-end support.
Sustainable Leather Cutting: Ultrasonic vs. Laser Machining
This study compares ultrasonic‑assisted machining with CO2 laser‑assisted machining for leather cutting, focusing on sustainable processing. Recently, ultrasonic cutting has emerged as a promising alternative for precision leather cutting: high‑frequency vibrations reduce cutting resistance, improve edge quality and cut material waste.
Comparative study of ultrasonic and laser assisted machining for sustainable leather cutting in greener industry practices, S Mekid, 2025
Frequently Asked Questions
What are the key considerations when selecting leather for cutting projects?
Choose leather based on project type, durability needs and the look you want. Goat and sheep leathers are thinner and better for intricate work; cow and buffalo are thicker and better for structural items like bags and jackets. Also check the finish—some treatments don’t handle laser heat well—so match material to your cutting method.
How can I ensure my leather cutting patterns are accurate and precise?
Start with high‑quality vector templates that are properly scaled. Make a paper prototype to verify fit, use tools suited to the leather thickness, stabilize the hide on a cutting mat, and keep a steady cutting technique. For lasers, regular calibration is essential to maintain accuracy.
What are some common mistakes to avoid when cutting leather?
Avoid wrong scaling, inadequate seam allowances and dull blades. Don’t forget kerf—the material removed during cutting—as it can cause misalignment. Always test on scrap leather before committing to your final piece, and keep your workspace well lit and organized.
How do I care for and maintain my leather cutting tools?
Maintain blades by sharpening or replacing them when dull. Clean and calibrate rotary and laser cutters regularly. Store tools dry and protected, use blade guards and keep a maintenance schedule to prevent avoidable problems.
What are the benefits of using laser cutting technology for leather projects?
Laser cutting offers high precision and the ability to create intricate designs with minimal waste. It produces clean edges and complex negative spaces and speeds up repetitive work—ideal for larger runs. Remember that laser edges often need post‑processing like sealing to improve durability.
Can I use recycled materials in my leather projects?
Yes. Designers increasingly pair leather with recycled textiles, repurposed leather scraps and reclaimed hardware to create sustainable, character‑rich goods. Make sure recycled components are compatible with your chosen leather and cutting methods to preserve quality.
What trends should I be aware of in leather crafting for the upcoming years?
Watch for sustainable sourcing, minimalist design, the return of filigree accents and modular or convertible products that extend lifespan. Personalization—laser engraving and Pantone color runs—remains strong as brands seek cohesive assortments.
Conclusion
Learning leather cutting techniques lets designers turn ideas into high‑quality products that combine beauty with structural integrity. Understanding pattern choice, material behavior and cutting methods helps makers achieve professional results. When you’re ready to scale, advanced tools and professional services streamline production and ensure consistency. Explore the resources and support available to take your leather projects further today.


