
Effective Leather Stain Removal Techniques
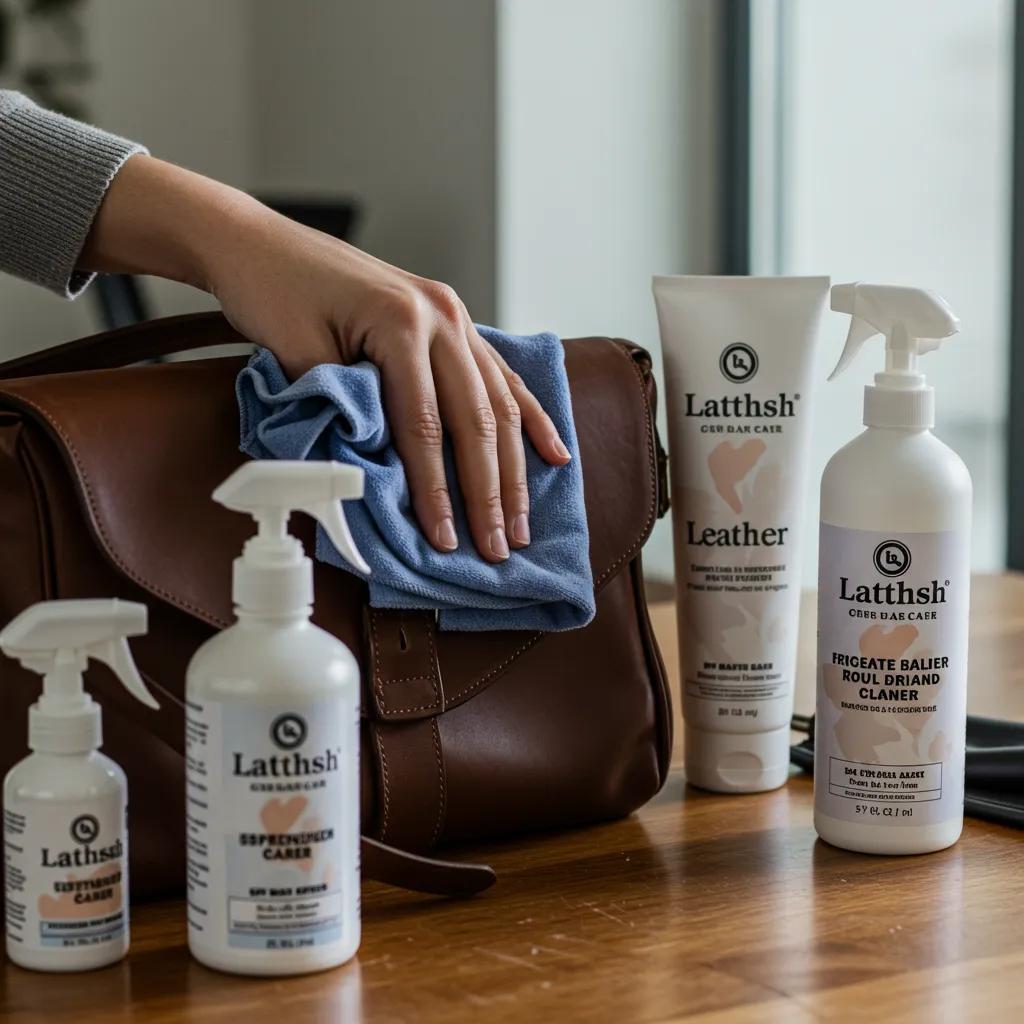
Effective Leather Stain Removal: Practical Steps to Clean and Protect Your Leather Goods
Fast, finish‑specific action and careful aftercare keep leather looking great. This guide gives clear, workshop‑proven techniques you can use at home: how ink, grease, water, salt and white‑leather marks behave on different finishes, which household items and pH‑balanced cleaners are safe, and when to call a professional. Good leather care links stain type → leather finish → targeted treatment. Below you’ll find step‑by‑step instructions, quick comparison tables, practical routines and manufacturer recommendations for wholesale or export inventory. Typical problems—set‑in ink, oily rings, salt bleaching—need different fixes: solvents for ink, absorbents for grease, neutralizing solutions for salt, followed by conditioning to restore suppleness. Read on for focused how‑tos for each stain group, fast reference tables, daily maintenance tips, and advice on when to seek specialist help.
How to Remove Ink Stains from Different Leather Finishes
Ink reacts differently depending on the finish. For finished (pigmented) leathers, act quickly: blot, test a safe solvent, then work gently. For delicate aniline and suede, avoid wetting and prefer dry or professional methods. Solvents dissolve pigment so prompt action improves results. Always spot‑test in an inconspicuous area and dab—don’t rub—to prevent spreading or abrading the surface. Below we outline approaches for aniline, pigmented, suede and nubuck so you can pick the right method.
Best Methods to Remove Ink from Aniline and Pigmented Leather

Pigmented and aniline leathers look similar but the surface protection differs. Pigmented (finished) leather tolerates mild solvents better because it has a protective coating; for fresh marks, apply a tiny amount of rubbing alcohol or a pH‑balanced leather cleaner to a microfiber cloth and blot from the center outward, testing as you go. Aniline (unfinished) leather soaks up ink more easily—avoid alcohol if possible and consult a specialist when in doubt. If you try a DIY fix, use only minimal dampening and immediately follow with a neutral conditioner to reduce drying marks and discourage dye migration.
Quick reference: match leather type to likely response and recommended ink‑removal approach.
| Leather Type | Susceptibility / Recommended Method | Tool / Product / Duration |
|---|---|---|
| Pigmented (finished) | Moderate; soluble ink often lifts with diluted solvents | Rubbing alcohol or pH‑balanced cleaner on microfiber; test 30–60 seconds |
| Aniline (unfinished) | High; ink can penetrate fibers—avoid strong solvents | Professional cleaner preferred; DIY: lightly damp cloth + conditioner |
| Suede / Nubuck | Very sensitive to wetting; use dry methods first | Suede eraser and napping brush; very limited alcohol spot treatment if tested |
| Full‑grain (treated) | Depends on finish; generally safe with mild cleaning | Mild soap solution; spot‑test and condition afterward |
Choose a method that matches the finish and always test before treating the stain.
Quick how‑to for removing a fresh ink mark from finished leather (featured‑snippet style):
- Blot immediately: Gently absorb excess ink with a dry microfiber—don’t rub.
- Test solvent: Apply a tiny amount of rubbing alcohol or pH‑balanced cleaner in a hidden spot to check colorfastness.
- Dab outward: Lightly dab from the stain center toward the edge, changing cloth sections as they pick up ink.
- Clean and condition: Finish with a gentle leather cleaner and apply a neutral conditioner to restore oils.
These steps focus on containment and safe solvent use; next we cover suede‑specific, dry first methods.
How to Safely Clean Ink from Suede and Nubuck
Start with dry tools for suede and nubuck—water and solvents can darken the nap or lock pigment in place. Use a suede eraser in small circular motions, then lift the nap with a napping brush. If the mark remains, a tiny amount of isopropyl alcohol dabbed at the stain base (not across the nap) may help—spot‑test first. For old or deep stains, professional napping or color repair is safer than aggressive home solvents, which can flatten the texture and require re‑finishing. After cleaning, protect with a spray made for suede to repel future stains and keep the nap looking even.
Most Effective Techniques for Grease and Oil Stain Removal
Grease and oil need quick absorption: oils bond with leather fibers and repel water, so early action improves chances of removal. Start by lifting excess grease, then use absorbents and a leather‑safe cleaner. Kitchen powders like cornstarch or baking soda pull oil out by adsorption; commercial degreasers break oil bonds when needed. Never add more oil (olive oil is a bad idea) and avoid heat. The right sequence—absorb, brush, clean, condition—minimizes finish damage. Below we compare household absorbents and commercial cleaners and provide a stepwise routine.
Immediate actions for an oil or grease spot:
- Blot excess oil: Use absorbent paper or a cloth—do not rub.
- Apply absorbent powder: Cover with cornstarch or baking soda and leave for several hours to draw out oil.
- Brush and vacuum: Remove the powder gently, then assess before applying any cleaner.
Which Household Products Work Best for Grease Stains?
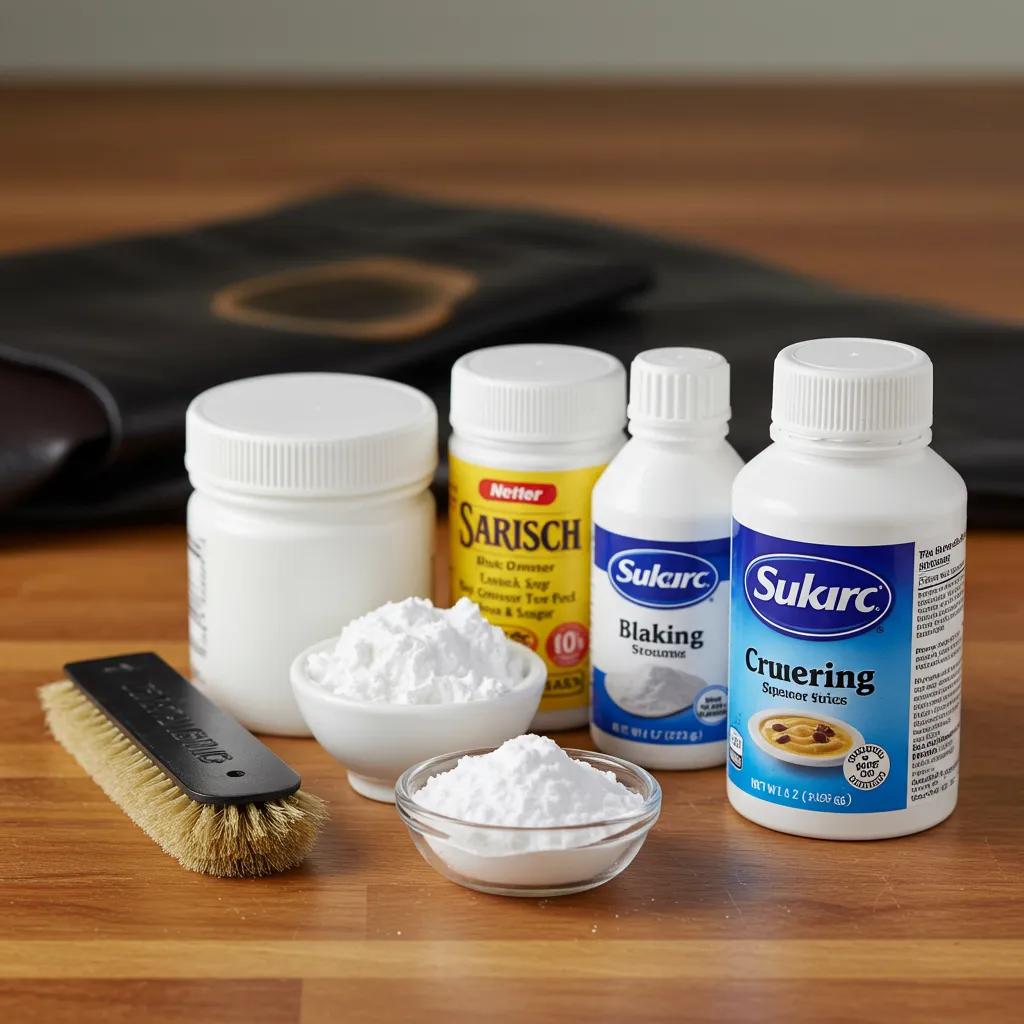
Start with dry absorbents because they lift oil without introducing solvents that can affect the finish. Cornstarch and baking soda are inexpensive and effective: cover the stain, leave 6–12 hours, then brush away; repeat if needed. A mild soap solution can remove leftover film when used sparingly, followed by a pH‑balanced conditioner to replace lost oils. Always spot‑test first—stubborn grease may need a commercial degreaser or professional attention.
Comparison table: absorbents and cleaners to guide your choice.
| Absorbent / Cleaner | Best For / How It Works | Use Instructions / Cautions |
|---|---|---|
| Cornstarch | Fresh oil—draws oil out by adsorption | Cover stain, leave 6–12 hrs, brush off; avoid wetting before removal |
| Baking Soda | Absorbs oil and deodorizes mildly | Same as cornstarch; slightly more abrasive—test first |
| Mild Soap Solution | Removes residue after absorbent step | Use sparingly, dab with damp cloth, dry and condition immediately |
| Commercial Leather Degreaser | Deep or set‑in oil stains | Follow product instructions, spot‑test, condition after use |
How to Use Absorbents and Leather Cleaners for Oil Stains
Follow a trusted sequence: absorb, brush, clean, condition. Lay a generous layer of cornstarch or baking soda to lift surface oil, wait several hours, then brush or vacuum away. If discoloration remains, apply a small amount of mild soap solution or a dedicated leather degreaser per instructions and wipe with a damp cloth. Let the leather dry naturally away from heat, then apply a pH‑balanced conditioner to replace oils and prevent stiffness. If multiple attempts fail or the finish dulls, seek professional restoration where controlled solvents and color‑matching are available.
Manufacturer note: for product recommendations or professional cleaning advice, Pakistan Leather (Atlanta Enterprises) recommends pH‑balanced cleaners and professional restoration for deeply set grease on premium pieces. Their experience with hand‑stitched garments and varied hides makes manufacturer guidance valuable for preserving custom items.
Removing Water and Salt Stains from Leather
Water and salt leave rings and crystals that stiffen and discolour leather. Quick blotting and careful neutralization prevent long‑term harm. Water stains often come from uneven wetting—re‑moistening and slow drying can help blend the mark. Salt must be dissolved and wiped away with a gentle solution. Work slowly: blot excess, use a damp (not soaking) cloth for salt, and avoid heat that drives salts deeper and causes cracking. Below are immediate steps for water stains and a safe salt‑removal recipe.
Immediate Steps to Treat Water Stains
Blend moisture to treat water rings rather than spot‑drying. Blot excess water, then lightly dampen the whole panel to avoid sharp contrasts. Use a soft, lint‑free cloth and gentle, even strokes; air dry at room temperature away from sunlight or heaters. Once dry, apply a light coat of neutral conditioner to replenish oils and reduce shadowing and stiffness. If rings remain after conditioning, consult a professional for re‑toning or re‑finishing instead of overworking the surface.
Do’s and don’ts after water exposure:
- Do blot gently and, if needed, re‑evenly dampen the area to blend the finish.
- Do dry slowly at room temperature and condition once fully dry.
- Don’t use hair dryers or direct heat—these can warp and crack leather.
How to Remove Salt Stains Safely
Remove salt by dissolving crystals and wiping them away with a mild water/vinegar mix—used carefully to protect dyes and finishes. Make a dilute solution of one part white vinegar to three parts water, dampen a cloth lightly, and wipe the salt‑stained area in gentle strokes until the residue comes off; follow by wiping with plain damp cloth and air drying. After drying, condition the leather to restore suppleness. For frequent winter exposure, clean regularly and use protective sprays to reduce salt buildup and protect color.
Cleaning and Caring for White Leather
White leather shows dirt and dye transfer more easily and requires gentle, non‑bleaching care. Use pH‑balanced, non‑abrasive cleaners and always spot‑test. Routine light cleaning prevents grime and oils from accumulating and attracting stains. Below are safe agents, dilution tips and prevention strategies for white bags and shoes—balanced care keeps white leather bright without harming the finish.
Summary table: safe cleaning agents for white leather, usual dilution and how to apply them.
| Cleaning Agent | Safe For White Leather? | Dilution / Application Method |
|---|---|---|
| pH‑balanced leather cleaner | Yes | Use as directed (often ready‑to‑use); always spot‑test first |
| Mild liquid soap (neutral) | Generally yes | Mix 1–2 drops in 250 ml water; apply sparingly with a microfiber |
| White non‑gel toothpaste | For isolated scuffs | Apply a small amount, rub gently, wipe clean and condition |
| White vinegar (very dilute) | Use with caution | Mix 1 part vinegar to 10 parts water for stubborn dye transfer; test first |
Safe Cleaning Agents for White Leather
Start with pH‑balanced leather cleaners—they clean without stripping dyes or finishes and usually need no dilution. A heavily diluted mild soap can remove surface grime when used sparingly and followed by conditioning. Non‑gel white toothpaste can lift light scuffs if used gently and rinsed off. Avoid abrasive cleaners or bleach which permanently change color. Always spot‑test and finish with a neutral conditioner to keep white leather bright and protected.
Preventing and Treating Common Stains on White Leather
Prevention beats repair: dust regularly, store items in dust bags and use protective sprays to reduce transfer and stains. For food or cosmetic marks, blot immediately, clean with a pH‑balanced product or mild soap solution, then condition. Persistent dye transfer or stubborn marks may need professional color correction. A weekly light clean and monthly conditioning routine will help keep white leather uniform—also rotate storage to avoid contact with darker fabrics that can transfer color.
Essential Leather Care Tips to Extend Leather Life
Regular care—gentle cleaning, routine conditioning and smart storage—prevents many stains and preserves structure and appearance. Conditioning replaces natural oils lost to cleaning and exposure, keeping leather supple and reducing micro‑cracks that trap dirt. Store items in breathable covers, use forms for bags, and keep humidity moderate to prevent mold and deformation. Protective sprays add a useful barrier against water and oil. Below we explain conditioning benefits and simple daily routines for jackets, bags and upholstery.
Essential maintenance checklist:
- Regular dusting: Wipe weekly with a dry microfiber to remove surface dirt.
- Periodic conditioning: Condition 2–4 times a year depending on use and leather type.
- Protective storage: Keep items in breathable covers away from direct sunlight and dampness.
How Conditioning Prevents Stains and Extends Life
Conditioning replenishes oils and lipids in leather fibers, preserving flexibility and creating a more even surface that resists staining. Regular conditioning reduces the chance that small spills will penetrate and helps maintain color depth. Choose a pH‑balanced, non‑greasy conditioner suitable for the finish and apply thin layers to avoid buildup. Frequency depends on use and type—aniline leathers usually need care more often. Conditioning is a simple preventive step that protects your investment.
Daily Cleaning Habits to Keep Leather Looking New
Daily care is straightforward: dust with a microfiber cloth, blot spills promptly, and check dark clothing for color transfer when storing light items. Avoid abrasive brushes on coated finishes and don’t use household oils or harsh solvents that can darken or damage leather. For stubborn spots use targeted leather cleaners and follow with conditioner. Rotate stored pieces to prevent pressure marks and use forms to preserve bag shapes. Small, regular habits greatly reduce the need for major repairs.
Business note: Pakistan Leather (Atlanta Enterprises) manufactures custom, hand‑stitched leather garments and goods from sheep, goat, cow and buffalo hides. They recommend pH‑balanced cleaners and periodic professional maintenance to preserve premium pieces. Retailers and buyers seeking wholesale or export care guidance can contact Pakistan Leather for manufacturer‑level advice on care products and storage solutions to protect inventory and reduce returns.
When to Seek Professional Help for Leather Stain Removal
Not every stain should be treated at home. Call a specialist when stains penetrate dye layers, when structural damage exists, or when mould or extensive water damage threatens the hide. Professionals use controlled solvents, re‑dyeing and workshop tools to remove set‑in stains and re‑finish surfaces while preserving seams and structure. Restoration makes sense for heirlooms, custom or high‑value hand‑stitched pieces where replacement isn’t practical; for lower‑value items, DIY methods often work. The following sections list signs that merit expert attention and how to evaluate a cleaner.
Stains and Damage That Require an Expert
Seek professional care for deep dye transfer, solvent damage, mould growth, severe water penetration with delamination, and cracking that affects seams or padding. Old, set‑in ink or grease that resists household methods usually needs workshop solvents and possible re‑coloring. Mould requires specialist treatment to remove spores and stabilise the hide without harmful chemicals. Structural issues like split seams or flaking finishes benefit from workshop repair. Recognising these limits helps prevent further damage from aggressive DIY attempts.
How to evaluate a professional and what to ask:
Request before/after photos of similar work, ask which chemicals and techniques they use, and confirm whether they offer color‑matching guarantees or warranties. Look for clear explanations of processes and protective measures, and be cautious with providers who won’t show sample work or describe their methods. If you handle custom or exported inventory, manufacturer referrals can help align restoration with original finish specifications. These vetting steps make it easier to choose a reliable specialist.
Finding a Reputable Leather Care Specialist
Start with a specialist’s portfolio—look for examples on similar leathers and comparable repairs—and ask for client references for high‑value or custom pieces. Confirm they use pH‑balanced materials and controlled solvent processes suited to your finish, and discuss timelines, guarantees and trade options for bulk inventory. Pakistan Leather can provide referrals or manufacturer guidance on maintenance protocols for exported goods, helping retailers match restoration to original manufacturing standards. Choose a specialist who understands leather types, finish chemistry and ethical restoration practices for the best result.
- Check portfolios and references: Verify similar restoration work and client satisfaction.
- Ask about methods: Confirm use of pH‑balanced products and controlled solvent techniques.
- Consider manufacturer referrals: Use producer guidance when available for the best match to the original finish.
Frequently Asked Questions
What should I do if my leather item has a set-in stain?
First identify the stain type and the leather finish. Set‑in marks such as old ink or grease often need professional cleaning—household methods may not work and can cause harm. If you try a DIY fix, use gentle cleaners and always spot‑test. If the stain doesn’t respond, consult a leather care specialist for safe restoration.
How can I protect my leather goods from future stains?
Regular maintenance is key. Apply a protective spray made for leather, store items in breathable dust bags, and avoid prolonged sunlight or moisture. Dust with a microfiber cloth and condition every few months as needed. These habits greatly reduce the risk of permanent staining.
Are there any specific products I should avoid when cleaning leather?
Avoid harsh chemicals, bleach, abrasive cleaners and products with high alcohol or ammonia content—these strip oils and damage finishes. Instead use pH‑balanced leather cleaners or a very mild soap solution, and always spot‑test before use.
How often should I condition my leather items?
Conditioning frequency depends on use and type. Generally condition every 2–4 months; items used heavily or exposed to harsh conditions may need more frequent care. Aniline leathers dry faster and may require conditioning every 1–2 months. Always choose a conditioner suitable for the specific leather finish.
Can I use regular household cleaners on leather?
Household cleaners often contain harsh ingredients that can strip oils and damage leather. Use cleaners formulated for leather (pH‑balanced) or, if necessary, a very mild soap solution—spot‑test first to ensure it won’t cause discoloration or harm.
What should I do if my leather item gets wet?
Act quickly: blot excess moisture with a soft, dry cloth—do not rub. Let the leather air dry at room temperature away from heat. Once dry, apply a leather conditioner to restore moisture and flexibility. For water rings, follow the appropriate method for the leather type or seek professional help if marks persist.
Is it safe to use vinegar for cleaning leather?
Vinegar can help with stubborn residues but must be highly diluted and used sparingly. A mix of one part white vinegar to ten parts water can be effective, but always spot‑test first. Overuse may dry or discolour leather, so follow up with conditioning.
Conclusion
Thoughtful stain removal and regular care keep leather beautiful and extend its life. By matching treatments to leather types and stain categories you can confidently address common problems like ink, grease and water marks. Routine maintenance and the right products make a big difference—explore our recommended leather care items to protect your pieces and keep them looking their best for years.


